"I want to have my students create VR simulations, to learn the process and to apply newly-gained knowledge in a meaningful way."

Created by you. Offline!

Don't just tell the facts... create a story and experience it. 

How this started
Placeholder Picture

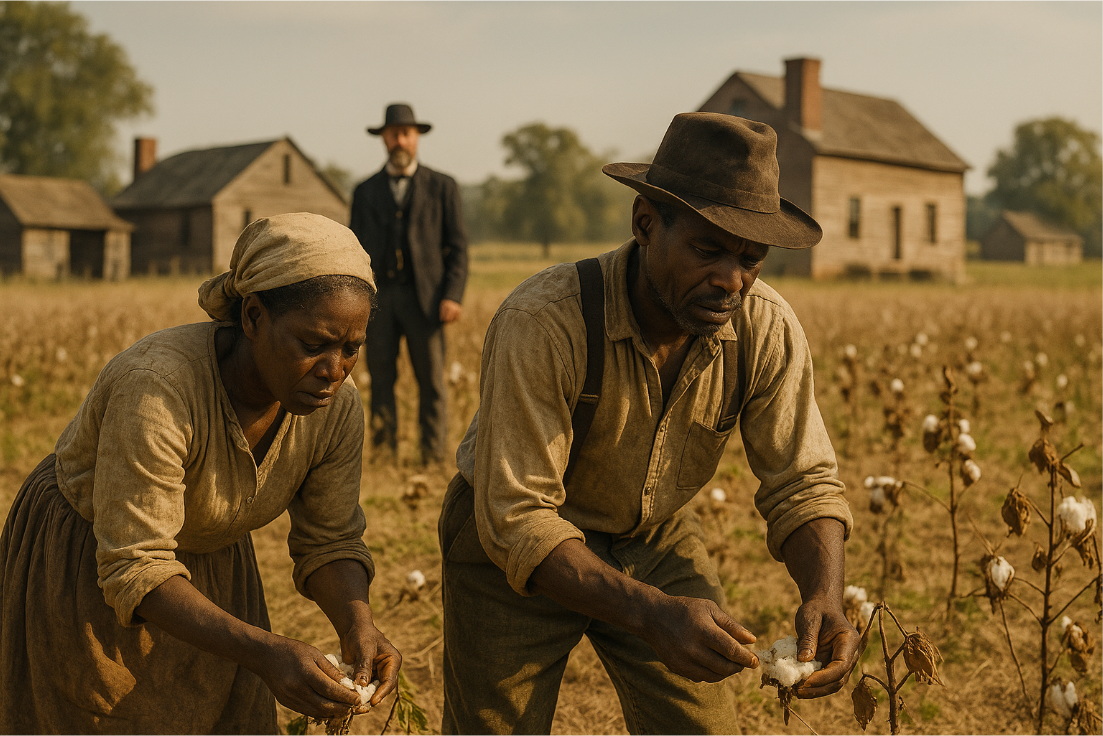
Bring Harriet Tubman's story to life. Bring your story to life. Creating a sense of time and place takes the viewer deeper inside your journey.

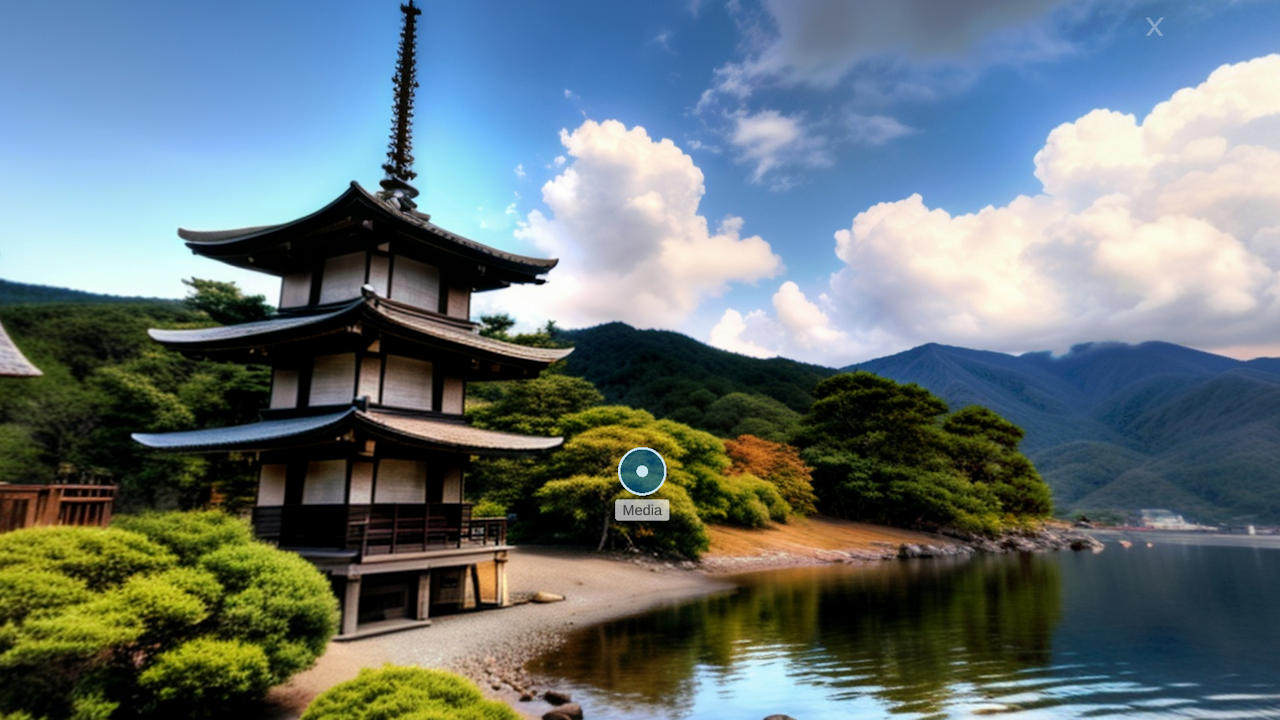
Take 360° images or videos, and build your masterpiece! Add multimedia elements that will bring this to life.
- 2D images and video (slideshow)
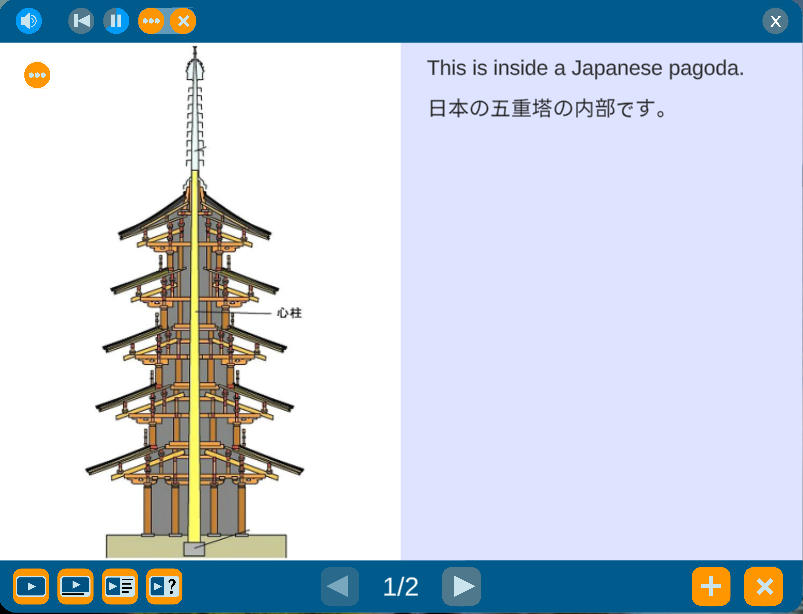
- Informational text and places of interest
- Audio events in a number of intriguing ways
- Interactive quiz inside the environment
- Easy navigation between scenes, plus other interactive features
Placeholder Picture

Making connections for special needs students

We have teachers in Canada presently using this software to build meaningful experiences for their students. This includes creating ways to manage anxiety (first day of class) by allowing students to virtually walk the halls, creating familiarity. Or showing some who may need a bit more attention the ways to open a locker, deal with ordering in the cafeteria, and so on. 

MSVR (MySense-VR) is an authoring/creation tool for making educational or experiential learning modules for SVR. This tool is unique in that it can be performed completely offline, making this a valuable tool for schools around the world.
Get a glimpse of how simple the creation of VR modules can be!
"There is no limit to what the imaginaton can create."

Take 360° images or videos, and build your masterpiece! Add multimedia elements that will bring this to life. We can show you how.

Placeholder Picture
Easy to learn, easy to use, and create offline

Editor Mode

In editor mode, editing options are shown as orange buttons which are clear, simple, and intuitive. Hovering over each button reveals a "tool tip" which tells what it is, and shows best practices. There is no professional development (PD) needed, nor long help files or forums to have to commit a lot of time to. Keeping it simple is our commitment to you. 

MSVR - Getting Started

Once the PC version has been installed on your computer, getting going is easy. Open the program and follow along with this video. Pay attention to the orange buttons which allows you to move in and out of editing/viewing modes. Have fun! 

MSVR - How to Edit

Adding media files like audio (mp3), video (mp4), images (jpg/png), and PDF is quite easy. Always pay attention to the orange buttons which allows you to move in and out of editing. When there are no orange buttons, you are in View mode, which allows you to understand what it will look like in a VR headset. Enjoy! 

MSVR - Projects (managing)

Individual projects are what you create, and we use portals to manage those projects. Use the orange edit button to make changes to the project image, make copies, delete, and so on. This is where you can transfer your creation onto the SVR headset (fully offline!) via USB-C cable, and then enjoy it anywhere. 

MSVR - 5 min Tutorial

Download and install MSVR on your PC. Follow along with this tutorial to quickly get up to speed on how to make your own VR projects (completely offline!). Use the View and Edit buttons to switch between modes. Use the iMenu at the bottom right, or double click the scene to bring up the edit menu. Tool tips and info are on screen. No need of help files and forums. You'll be amazed at what you can build!

The only upgrade  is the number of concurrent licenses per school, based on usage and need.

Check with us for more details.